Here we will learn step by step process to install sql server management studio in our system in a detailed manner.
Here we will see how to install SQL in our system for that follow below steps. Here we are installing SQL in windows 8.1 OS.
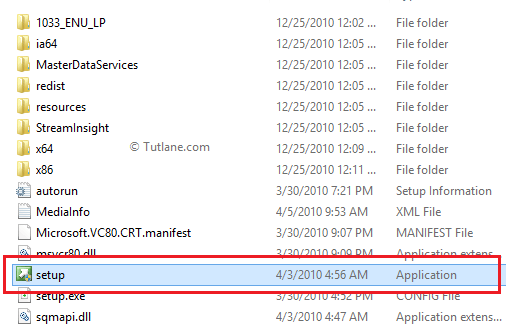
Now go to your SQL Server installation files folder and double click on the setup file like as shown below.
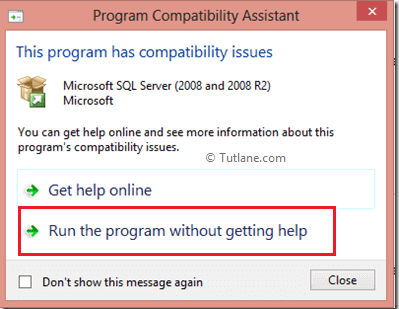
Whenever you click on the setup file, it will show the compatibility assistance window just ignore that message and click Run the program without getting help like as shown below.
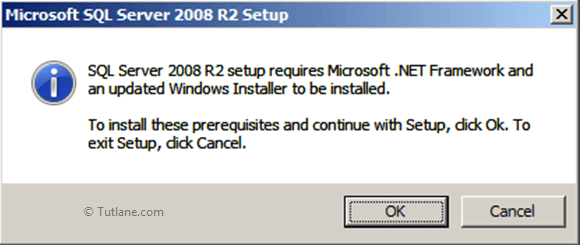
To setup SQL Server 2008 R2 it requires Microsoft .Net Framework and an updated windows installer that’s the reason it will show an alert window in that click OK to install required things like as shown below.
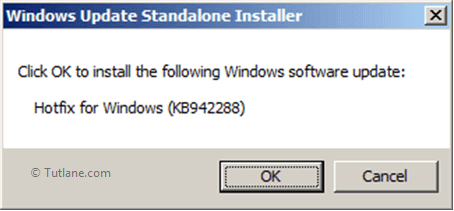
Once that is installed it will show the popup for Windows Update Standalone Installer, click OK button to install Windows Installer like as shown below.
Once we finish installation it will ask you to restart the system. Once we restarted now double click on setup button to install SQL Server it will open installation screen like as shown below in that select installation à under that select New installation or add features to an existing application like as shown below.
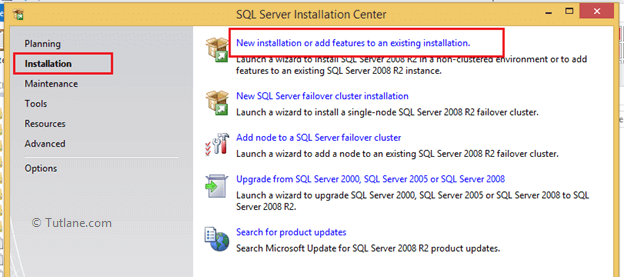
Once click on “New installation or add features to an existing application” it will open another window like as shown below.
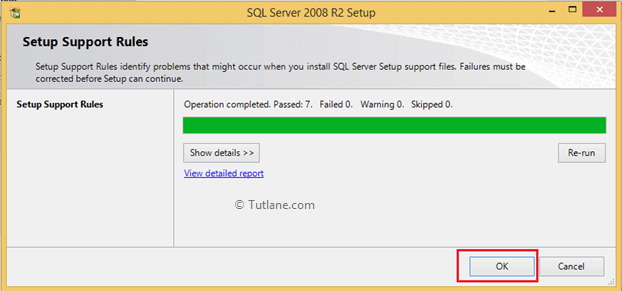
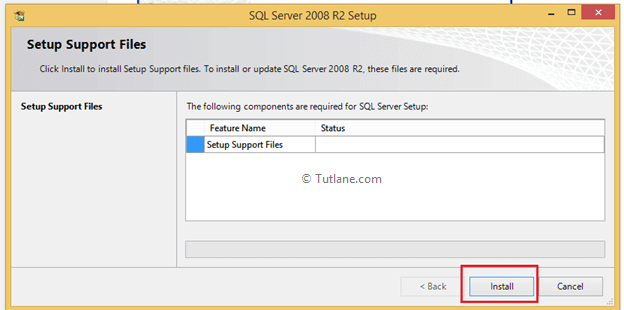
Here it will run Setup Support Rules like as shown above once done click OK. Now it will open another window to Setup Support Rules in this window click install button like as shown below.
Once Setup Support Rules installation finished it will show tested result like as shown below in this if everything fine then click the install button.
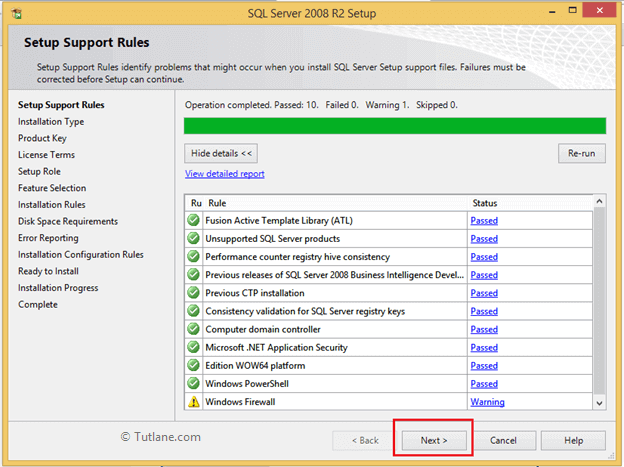
In the next screen, it will ask for the product key if you enter your key and click Next button like as shown below.

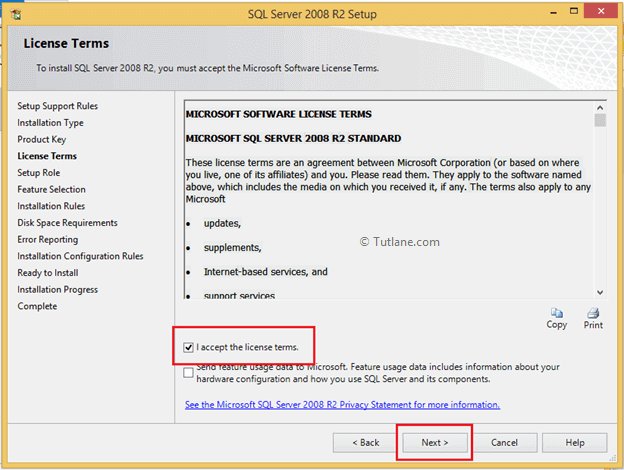
Now accept the terms and conditions and click the Next button.
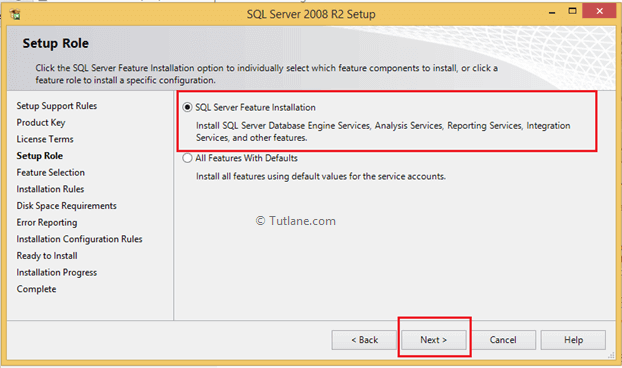
Now select SQL Server Feature Installation like as shown below and click the Next button.
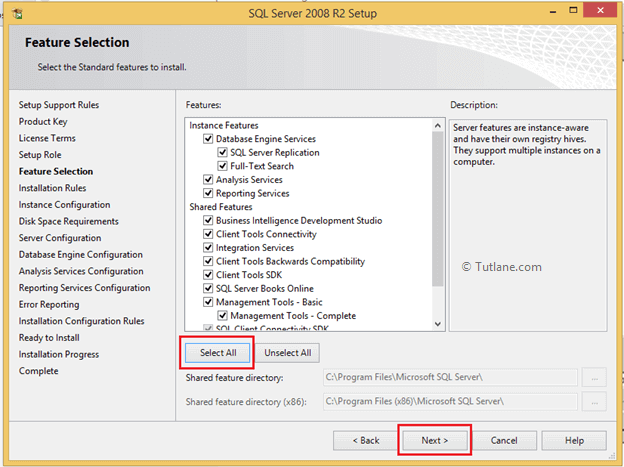
Now click on Select All button to select all features to install and then click Next button like as shown below.
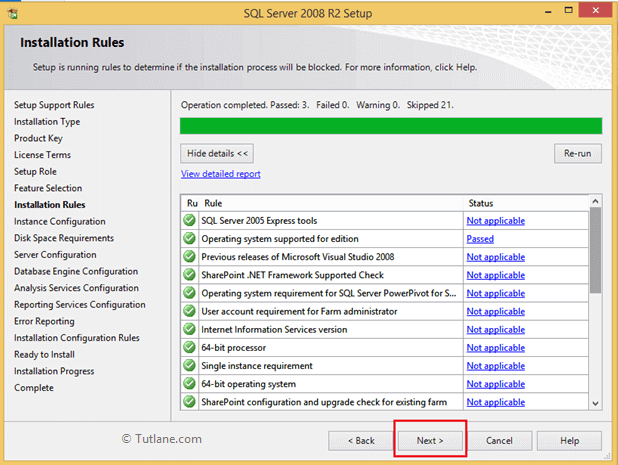
It will do the required tests once everything finished, click the Next button like as shown below.
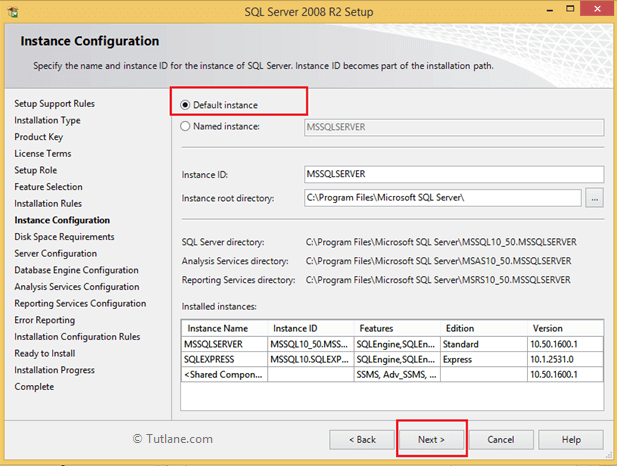
Now select Default Instance and click Next button like as shown below.
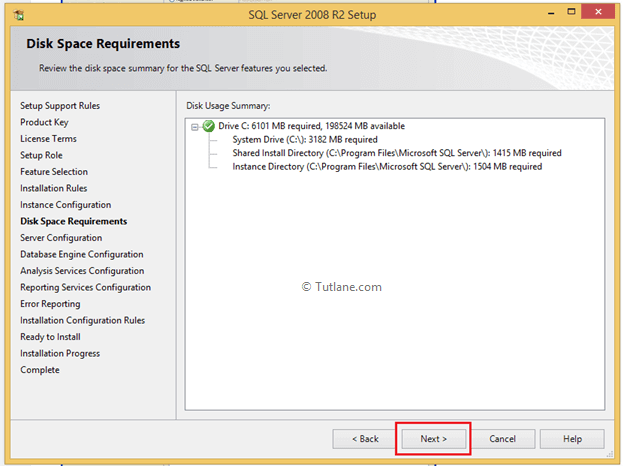
Now it will show required disk space to install all SQL Server features in that click Next like as shown below.
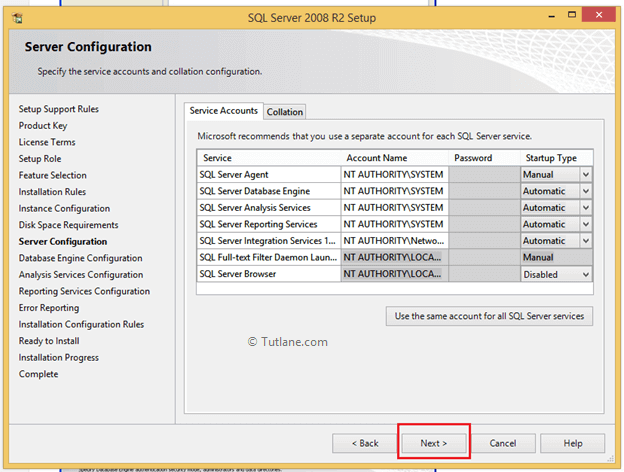
In the server configuration screen, you need to configure your accounts like as shown below and click Next button.
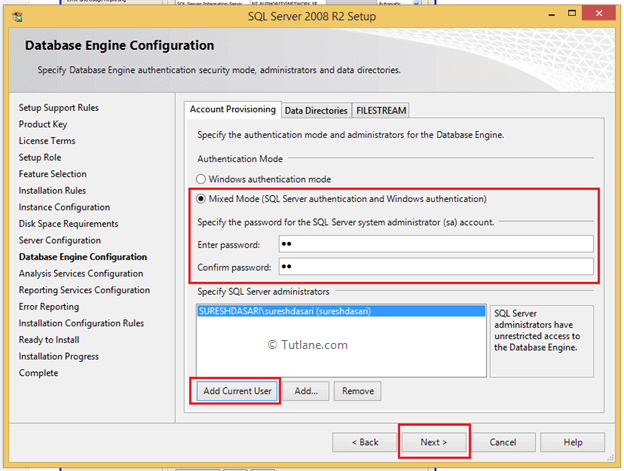
Now in database engine configuration window select Mixed mode authentication (It will allow you to login with windows and SQL authentication) then specify password for your account and also add SQL Server administrator account for that click on Add Current User button to add current user as administrator or click on Add button to add new user and click next like as shown below.
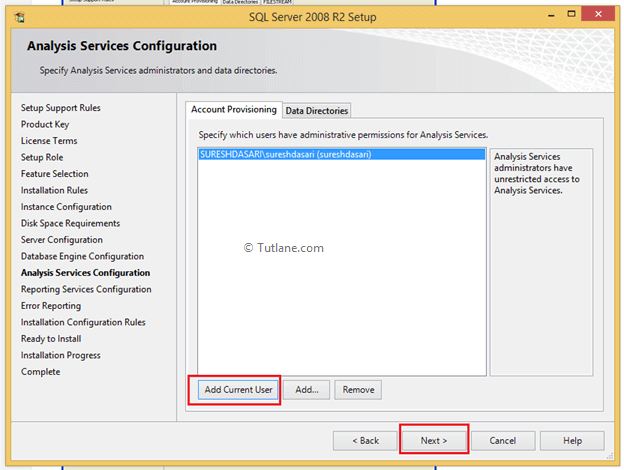
In Analysis services configuration window specify administrator by Click on Add Current User button or Add button to add a new user as administrator like as shown below.
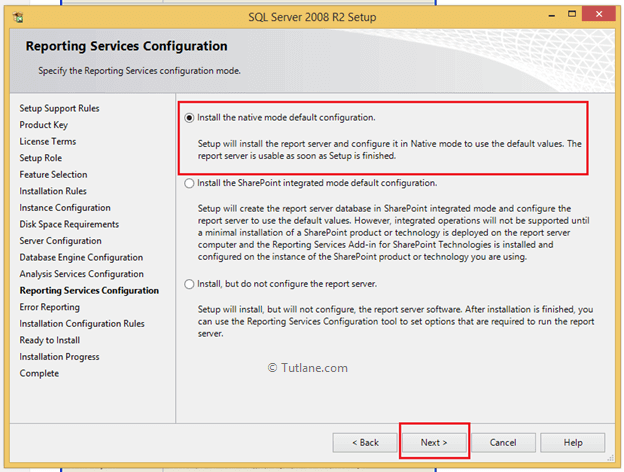
In reporting services configuration window select Install the native mode default configuration and click Next button like as shown below.
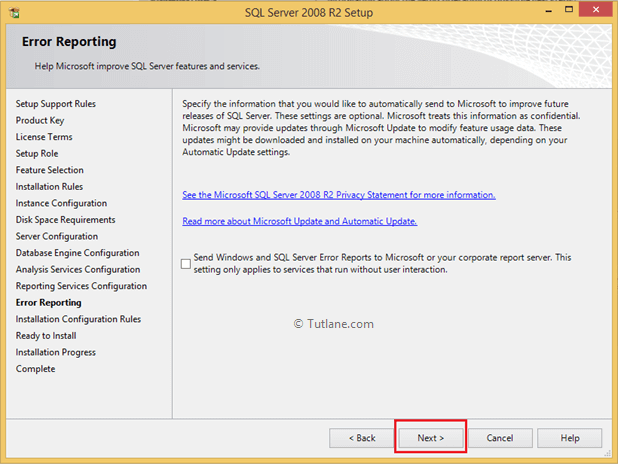
Now in Error Reporting window click Next button like as shown below.
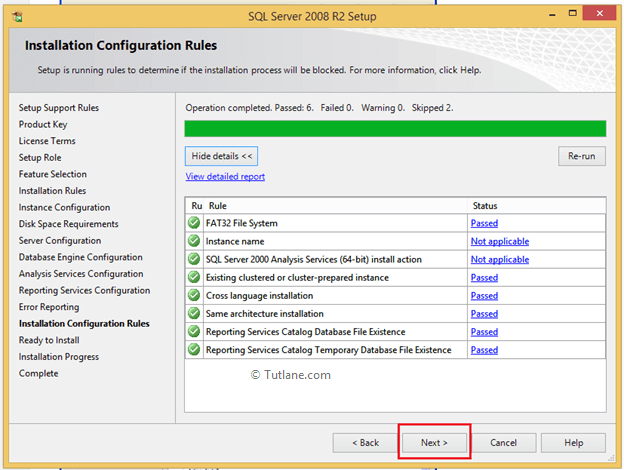
In the installation configuration rules window, it will do some tests once everything is done click Next button like as shown below.
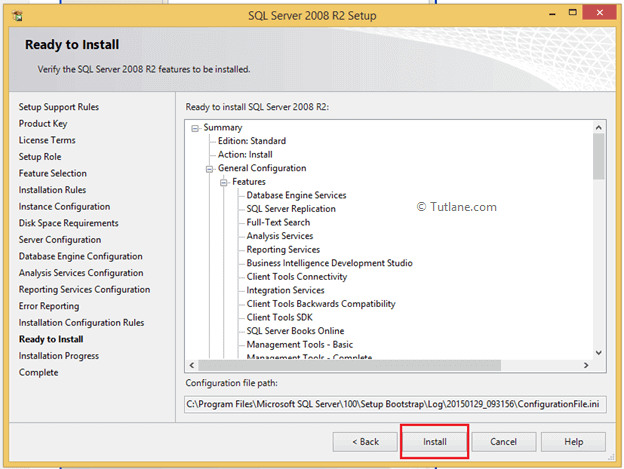
Now we are ready to install SQL Server so click on the install button like as shown below.
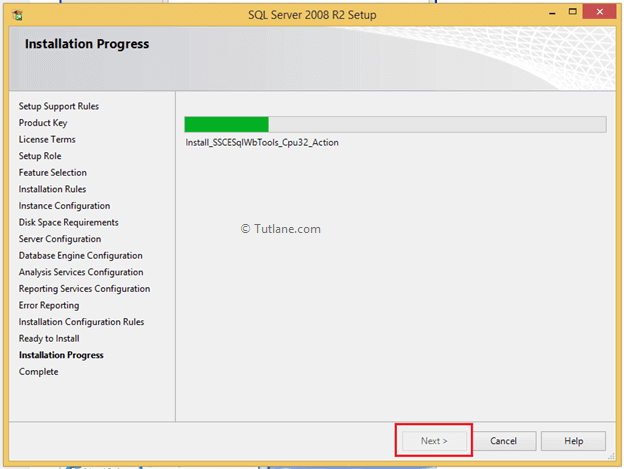
In the installation progress window, it will show installation progress once done click next button like as shown below.
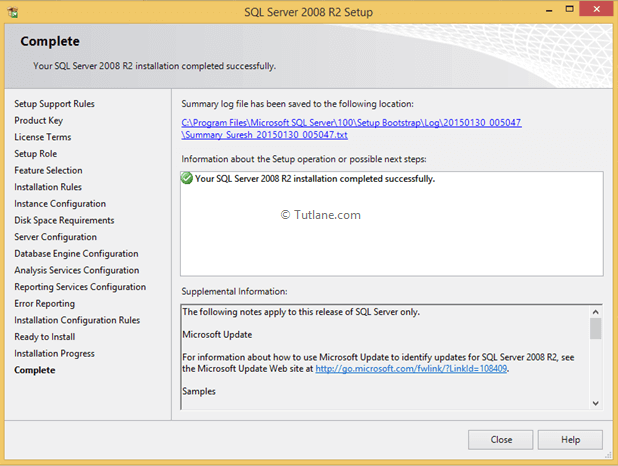
Once everything installed correctly it will show a message like as shown below.
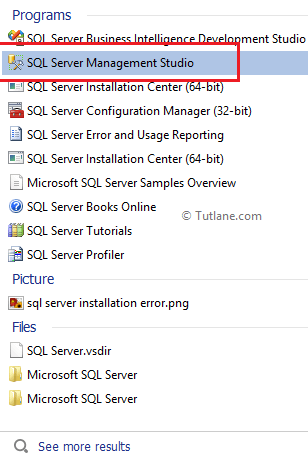
Now go to the start button of windows and open SQL Server Management Studio 2008 R2 like as shown below.
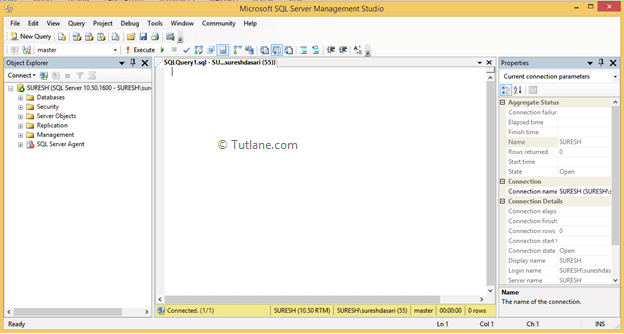
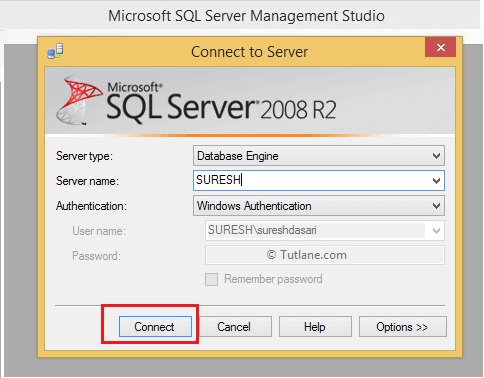
Now enter the server name and click Connect button like as shown below.
Now our SQL Server Management studio like as shown below.